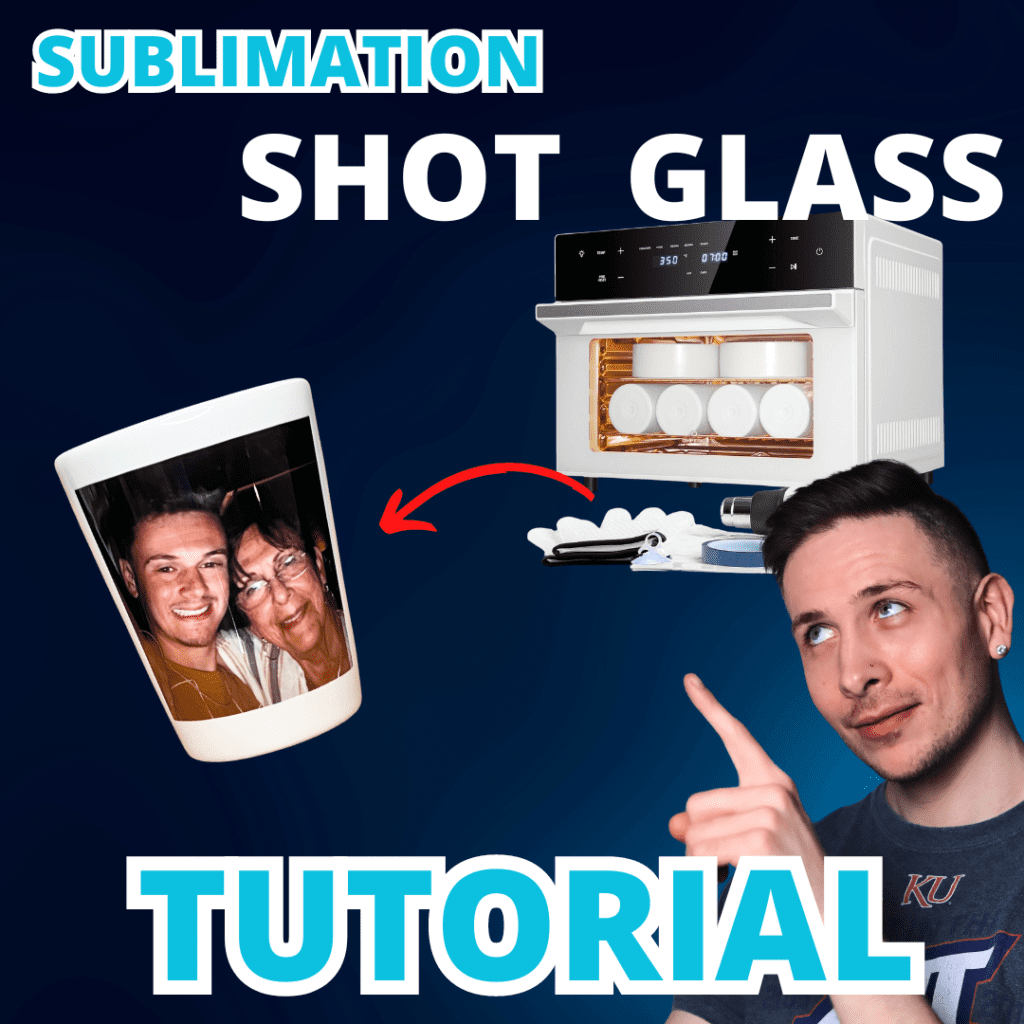
Hey my Motivated Makers! I recently made a video using my new OMPERIO Sublimation Oven making one of my more popular items which are personalized shot glasses! I was previously using an old small air fryer I got at a thrift store to sublimate my ceramic shot glasses but it was super small and I could only do three shot glasses at a time in it. I knew I wanted to try out some other things that required a bigger oven soon as well so, I decided to go ahead and make the investment into a larger oven. I really liked how the OMPERIO one I found on Amazon looked, it was large enough to fit several cups or other objects inside it at once and it came with some great accessories such as cool heat gloves, tape, shrink wrap and even a heat gun! I thought it was a home run so I purchased it and these shot glasses were the first thing I tried in it!
Here is the YouTube video with my shot glass sublimation experience in my new oven which, spoiler alert – the oven worked great!
Shameless self plug: Please subscribe, like, comment and share my YouTube videos ❤️
This is only a brief overview on how to do the sublimation process on ceramic shot glasses but here is a list of things I use to make these personalized gifts:
- List of items in the video: OMPERIO Sublimation Oven: https://amzn.to/49aBseU – – Comes with heat gloves, tape and more!
- Pink Heat Gloves: https://amzn.to/3SqJsRW
- Sublimation Shot Glasses I use: https://bit.ly/3Sr0rDX – – Note: this is a case of 144 shot glasses I buy in bulk, if you want less than that, I found some others on Amazon. 12 pack Sublimation Shot Glasses: https://amzn.to/3uk9o9T
- Shot glass shrink wrap: https://jdsindustries.com/ – – JDS also sells sublimation shot glasses, you need an account to shop with them.
- HTVRONT Sublimation Paper: https://amzn.to/3T0jIxz
- Heat Tape: https://amzn.to/48hsgo8
- Sawgrass Sublimation Printer: http://shrsl.com/4eqeo
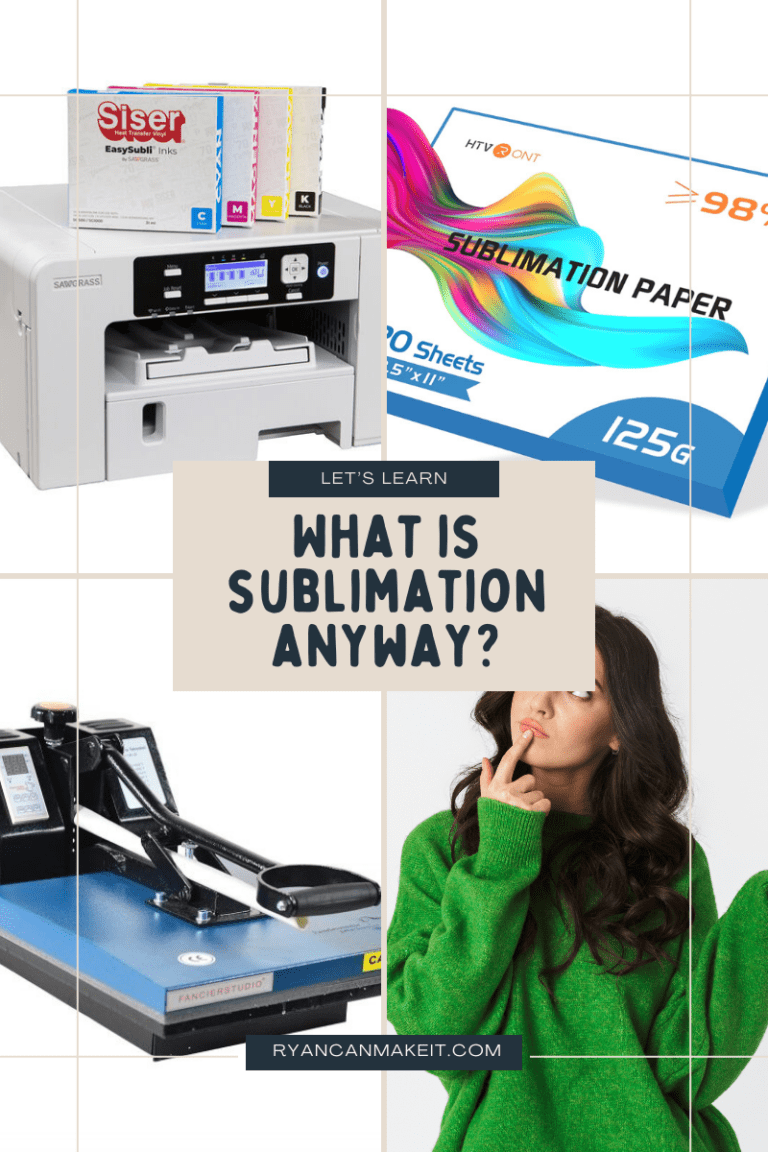
The first thing you need to do is to print your sublimation transfer from your desired software and whatever sublimation printer, sublimation ink and sublimation paper you like. I use a Sawgrass SG400 to print which was made for sublimation with HTVRONT Sublimation Paper. The Sawgrass SG400 sublimation printer was discontinued and was upgraded to the SG500, so that is all that is available now unless you buy second hand.
I have used my shot glass sublimation template for years now and modified it to fit the products I sell. I believe I got it from one of my suppliers, probably JDS Industries. They usually always have a template for all of their sublimation products but you do have to make and get approved to have an account with them. I believe you need a sales tax ID.
I use Adobe Photoshop for all of my projects with sublimation, sometimes I also have to tinker in Adobe Illustrator but I have been using Photoshop since I was in high school and that’s my preferred software to use. I am going to go over my shot glass template I use and have modified over the years, if you understand Photoshop at all then you will know exactly what’s going on and for those of you who don’t… leave a comment and maybe I will make a full length video on how I use Photoshop for sublimation in my business.
This is how my template I have curated looks in Photoshop when I open it up. The shot glasses are curved so you need the image to be slightly curved to look correct on the substrate. I don’t currently try and do full wraps, I just do the front and the back with an image on the front in a square shape and some text on the back if my customer wants. To add the artwork, I double click on my Smart Object layer and it will open the Smart Object so I can go inside and add my art the way I want.
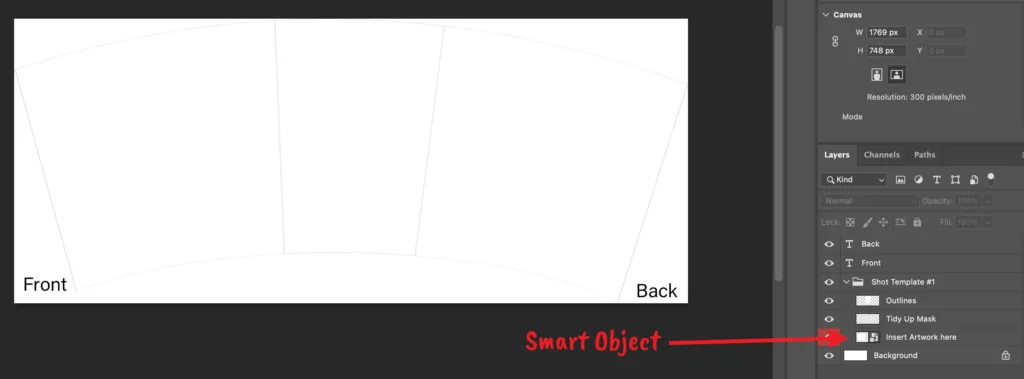
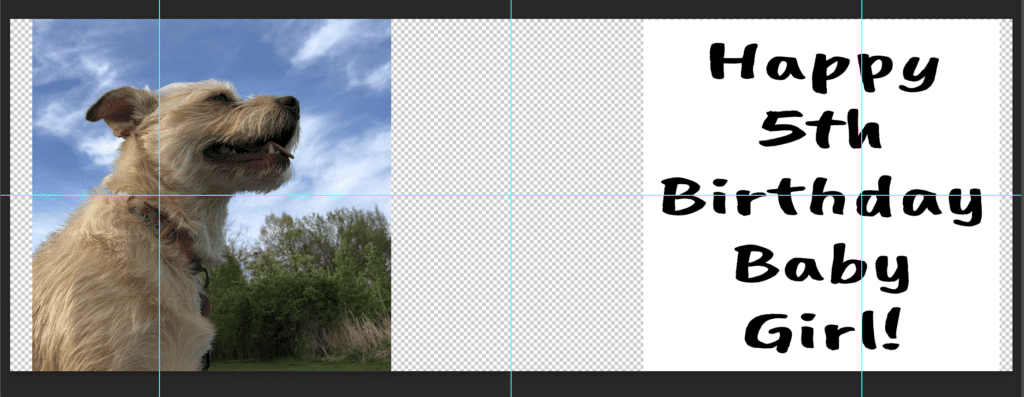
This is what the Smart Object looks like when I open it up and I have made squares for myself to make sure i keep my image and text inside of that area for the best result. Once I am happy with the placement of my image and text, I close the Smart Object, click save and it will bring me back to my curved shot glass template and the images I placed will be automatically transformed into the curvature needed for the substrate.
And here is the result of the placed images:
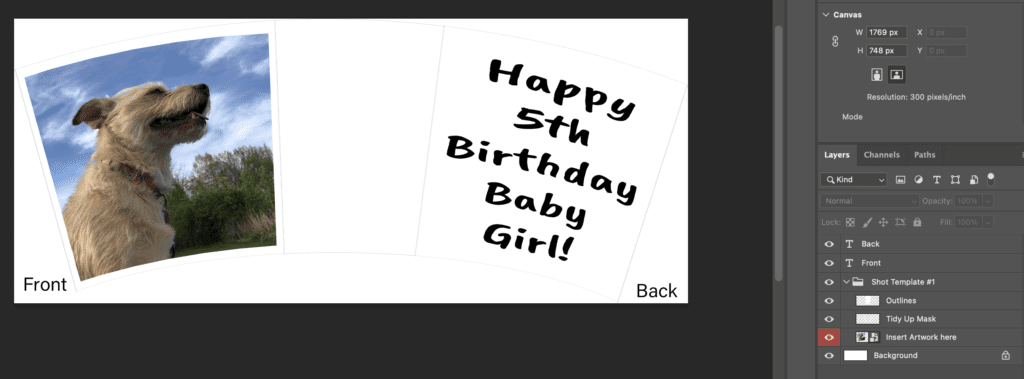
Now my image is ready to print. (make sure it’s mirrored when you’re printing!) Once printed, I carefully cut as close to the image and text as possible. Then, clean off my sublimation ready shot glass with some alcohol and a paper towel to rid of any dust. If you didn’t know, if there are any specs of dust on your substrate; rather it be this glass, a coffee cup or white polyester shirt – when you apply heat, the dust will turn blue! 😳 I put the front on one side of my glass as straight as possible using one piece of heat tape on each side to secure it and the back on the back the same way.
I cook my shot glasses in my convection oven at 400 degrees F for 6 minutes. So, it’s a good idea to go ahead and turn on your oven and get it pre heating while you are preparing your shot glass. If you’re using the OMPERIO Sublimation Oven, you turn the power on, push the temp button, adjust your temp and then click “pre heat” and it will tell you when it’s preheating and when it’s ready!
After I got my prints taped to my shot glass, I apply the shrink wrap I get from JDS to my glass for pressure. I tuck the extra on top inside the glass. I don’t use a heat gun to shrink the wrap prior to putting it in the oven. I just pop it in my oven and it will shrink the second you put it in there!
Now, I did not know this about the OMPERIO Sublimation Oven before I bought it but not only does it have all the accessories you need to get started like tape, heat gloves, etc but it also has 1) a light inside you can turn on and 2) the timer will automatically start once you close the door! Amazing! I was super surprised when I found that out and happy!
I made a TikTok video going over my first impressions of my new OMPERIO Sublimation Oven. Click here to check it out here if you’re interested!
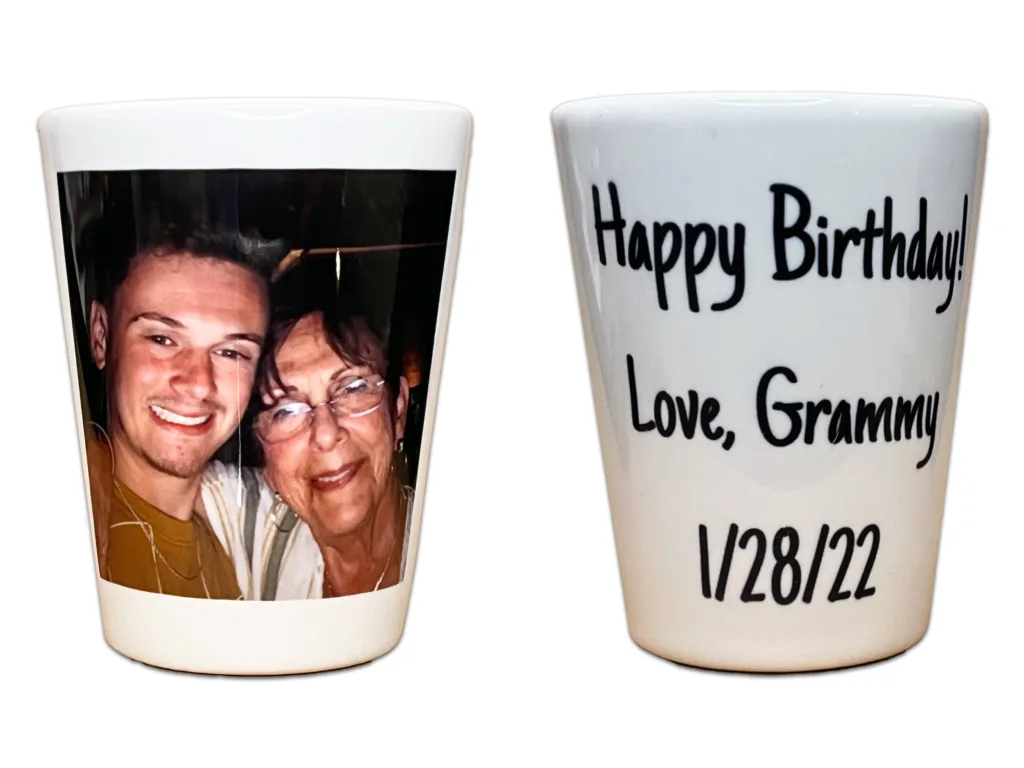
Once my 6 minutes is up, I remove my shot glass with my heat gloves and I like to take the shrink wrap and print off of my shot glass immediately because the shrink wrap can get stuck to the glass if you let it cool off too much and the print can keep processing if you leave it on the glass to cool off. So, I like to go ahead and take all the shrink wrap and transfer off carefully and then let my shot glasses cool off for several minutes and then they are ready to ship off to my customer!
Here is how they turned out! If you would like me to make you your own shot glass, or several – Click here to head on over to my shop at Instantly Unique Gifts!
Affiliate Disclosure: Ryan Can Make It is a participant in Amazon Affiliate and other affiliate programs. I earn a small commission from Amazon links and some other links posted on this website.
