Hey there, motivated makers! Are you frustrated with subpar results from your sublimation mouse pad creations? Tired of spending time and effort only to be disappointed with the outcome? Say goodbye to the guessing game and hello to success! Today, I’m excited to guide you through the process of creating your very own sublimation mouse pads. Let’s transform those headaches into triumphs as we infuse a touch of personality and flair into your workspace—one mouse pad at a time!
1. Understanding the Canvas:
Let’s start with the basics. Mouse pads are crafted from a neoprene rubber material that readily accepts sublimation ink, making them the perfect canvas for your creative endeavors. You can easily source blank mouse pads from various suppliers, and personally, I’ve had great success with these ones I’ve found on Amazon, you can find them here.
2. Measure Twice, Print Once:
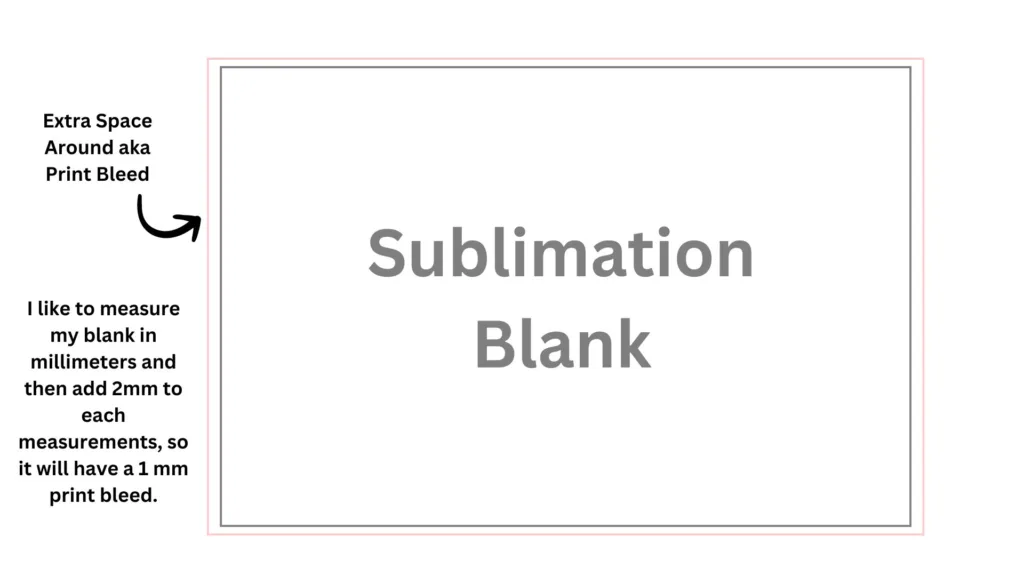
Before diving into design mode, take a moment to measure your mouse pad. Adding a little extra space around the edges ensures a clean print and prevents any unwanted cropping. I prefer to include an eighth of an inch for a print bleed area, ensuring my design covers the entirety of the mouse pad. Pro tip: Consider measuring in millimeters for precision, and add 2 mm to your canvas size to ensure full coverage.
3. Design Your Masterpiece:
Now comes the fun part—designing your personalized mouse pad! Whether you’re a Canva pro or prefer the creative freedom of Photoshop, the choice is yours. Use your preferred software to unleash your creativity and bring your vision to life. Remember, it’s all about what works best for you and makes the design process a breeze.
Supplies You’ll Need:
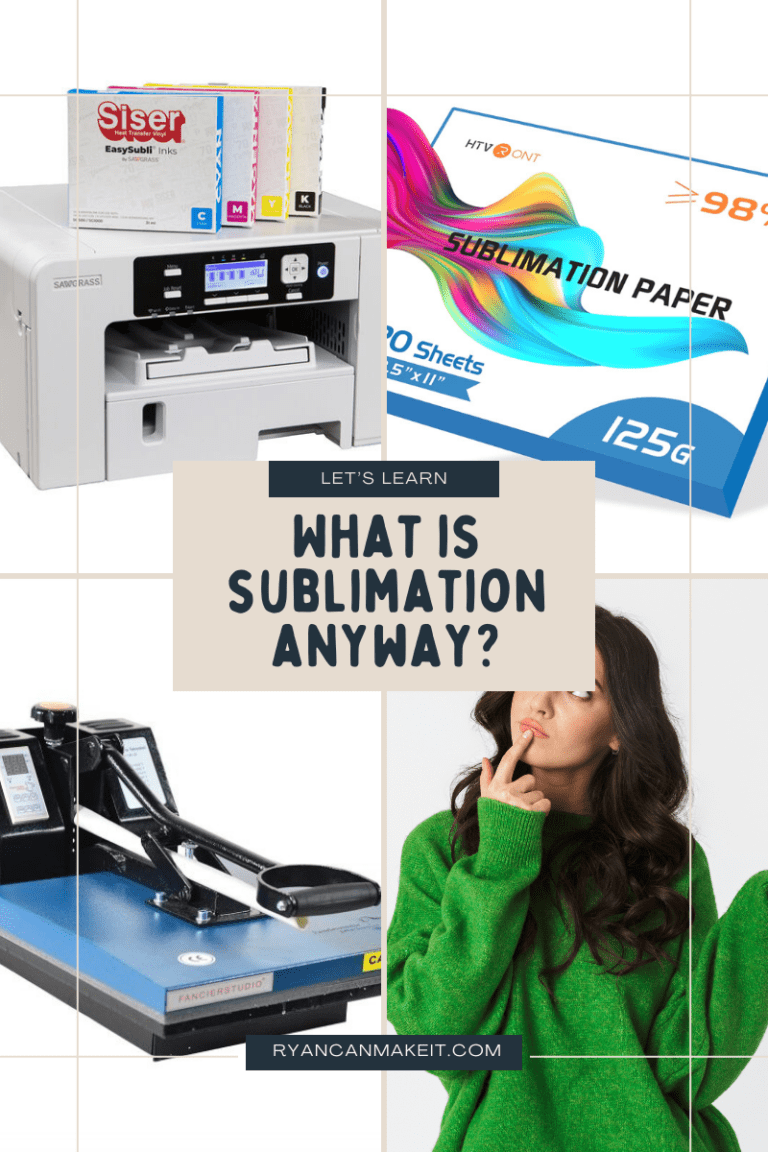
- Sublimation Mouse Pads: https://amzn.to/3w9GF8q
- HTVRONT Sublimation Paper: https://amzn.to/3T0jIxz
- Blue Heat Tape: https://amzn.to/48jgxW6
- or if you prefer: Yellow Heat Tape: https://amzn.to/48hsgo8
- Packaging Paper / Protective Paper: https://amzn.to/49j7YeU
- Pink Heat Resistant Gloves: https://amzn.to/3SqJsRW
- Black Disposable Gloves: https://amzn.to/3uB8C8C
- Sawgrass Sublimation Printer: http://shrsl.com/4eqeo
- F FINDERS&CO SG400 SG800 Ink Cartridges: https://amzn.to/42K0Aaj
- Fancier Studio 15″ x 15″ Heat Press: https://amzn.to/3UrbBeq
- Design software of your choice like Canva or Photoshop.
4. Let’s Get Crafting:
Now that you’ve gathered your supplies and perfected your design, it’s time to bring your mouse pad to life. Check out my quick tutorial video on YouTube for a visual walkthrough of the process. And hey, while you’re there, don’t forget to hit subscribe for more crafting inspiration!
5. Perfect Pressing:
For optimal results, I recommend pressing your mouse pads at 360°F for 60 seconds. This temperature and duration combination ensures vibrant colors without any risk of fading or darkening. Keep in mind that I use a Sawgrass printer, which manages color profiles seamlessly. If you’re using an Epson printer, your experience may vary slightly, but fear not—there are plenty of tutorials out there to guide you through the setup process.
Step 6: Taping and Pressing with Care:
Once your design is printed onto sublimation paper, it’s time to carefully tape it onto your mouse pad for the pressing process. Here’s how to do it safely and effectively:
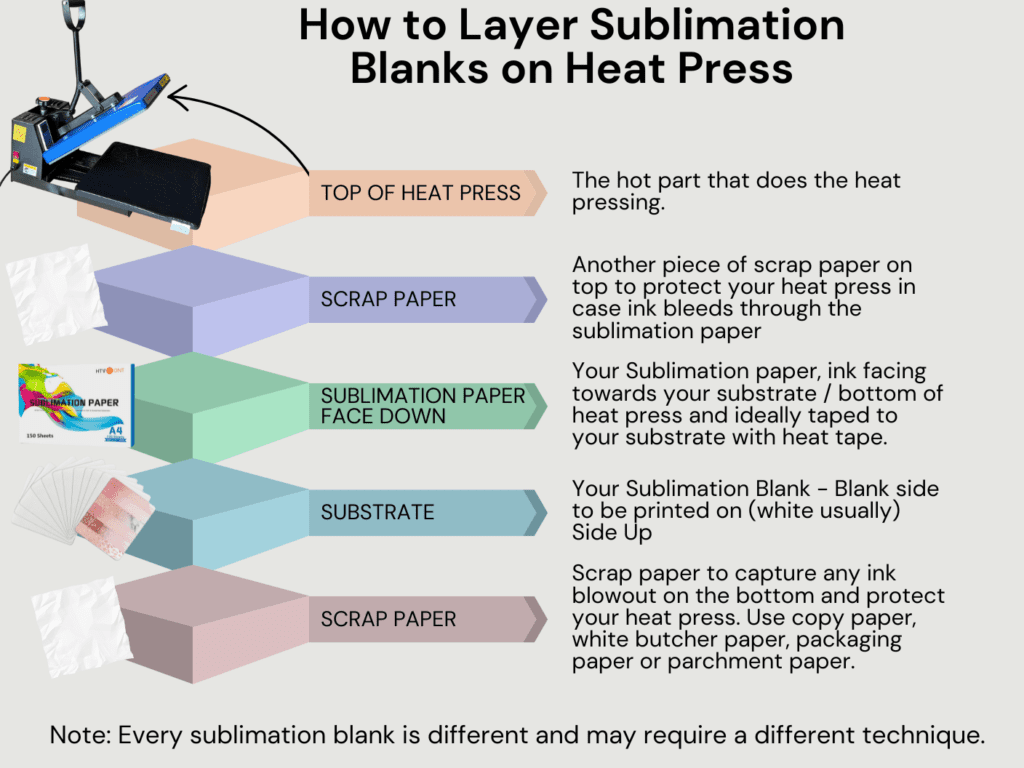
- Lay your sublimation paper print-side up on a flat surface.
- Place your mouse pad on top of the sublimation paper, ensuring that the design is aligned correctly.
- Gently secure the edges of the sublimation paper to the mouse pad using heat-resistant tape. Be sure to tape all four sides securely to prevent any movement during the pressing process.
- With caution, place a piece of protective paper on the bottom platen of your heat press.
- Carefully position your taped mouse pad on top of the protective paper, ensuring that it’s centered and secure.
- Cover the mouse pad with another piece of protective paper to shield it from direct heat during pressing.
- Close the heat press gently, ensuring that the mouse pad and protective papers are aligned properly and securely in place.
- Follow the recommended time and temperature settings for pressing your mouse pad, applying gentle pressure to ensure even heat distribution.
- Once the pressing cycle is complete, carefully lift the heat press lid and remove the protective paper from the top of the mouse pad using heat resistant gloves.
- Slowly peel off the heat-resistant tape from the edges of the mouse pad, taking care not to disturb the sublimation paper.
- Allow the mouse pad to cool completely before handling it, as it may be hot to the touch.
- Once cooled, gently peel off the sublimation paper to reveal your beautifully transferred design on the mouse pad.
Remember to handle the sublimation paper and mouse pad with care throughout the taping and pressing process to avoid any damage or misalignment.
Conclusion: Craft On, My Motivated Makers!
With patience and attention to detail, you’ll achieve stunning results every time. And there you have it, my fellow crafters—an easy, step-by-step guide to creating personalized sublimation mouse pads that are as unique as you are. So, roll up your sleeves, unleash your creativity, and let’s make some magic together. Happy crafting! 🎨✨
Affiliate Disclosure: Ryan Can Make It is a participant in Amazon Affiliate and other affiliate programs. I earn a small commission from Amazon links and some other links posted on this website.
