Hey there, fellow crafters! It’s Ryan from Ryan Can Make It, and I’m super excited to share my latest crafting adventure with you. This time, I got my hands on the new HTVRONT hat heat press, and I couldn’t wait to put it to the test. Here’s a step-by-step account of my experience, complete with some tips and lessons learned along the way. HTVRONT did send me this heat press as a gift but the experience is all my own.
Creating My “Taps and Roses” Graphic
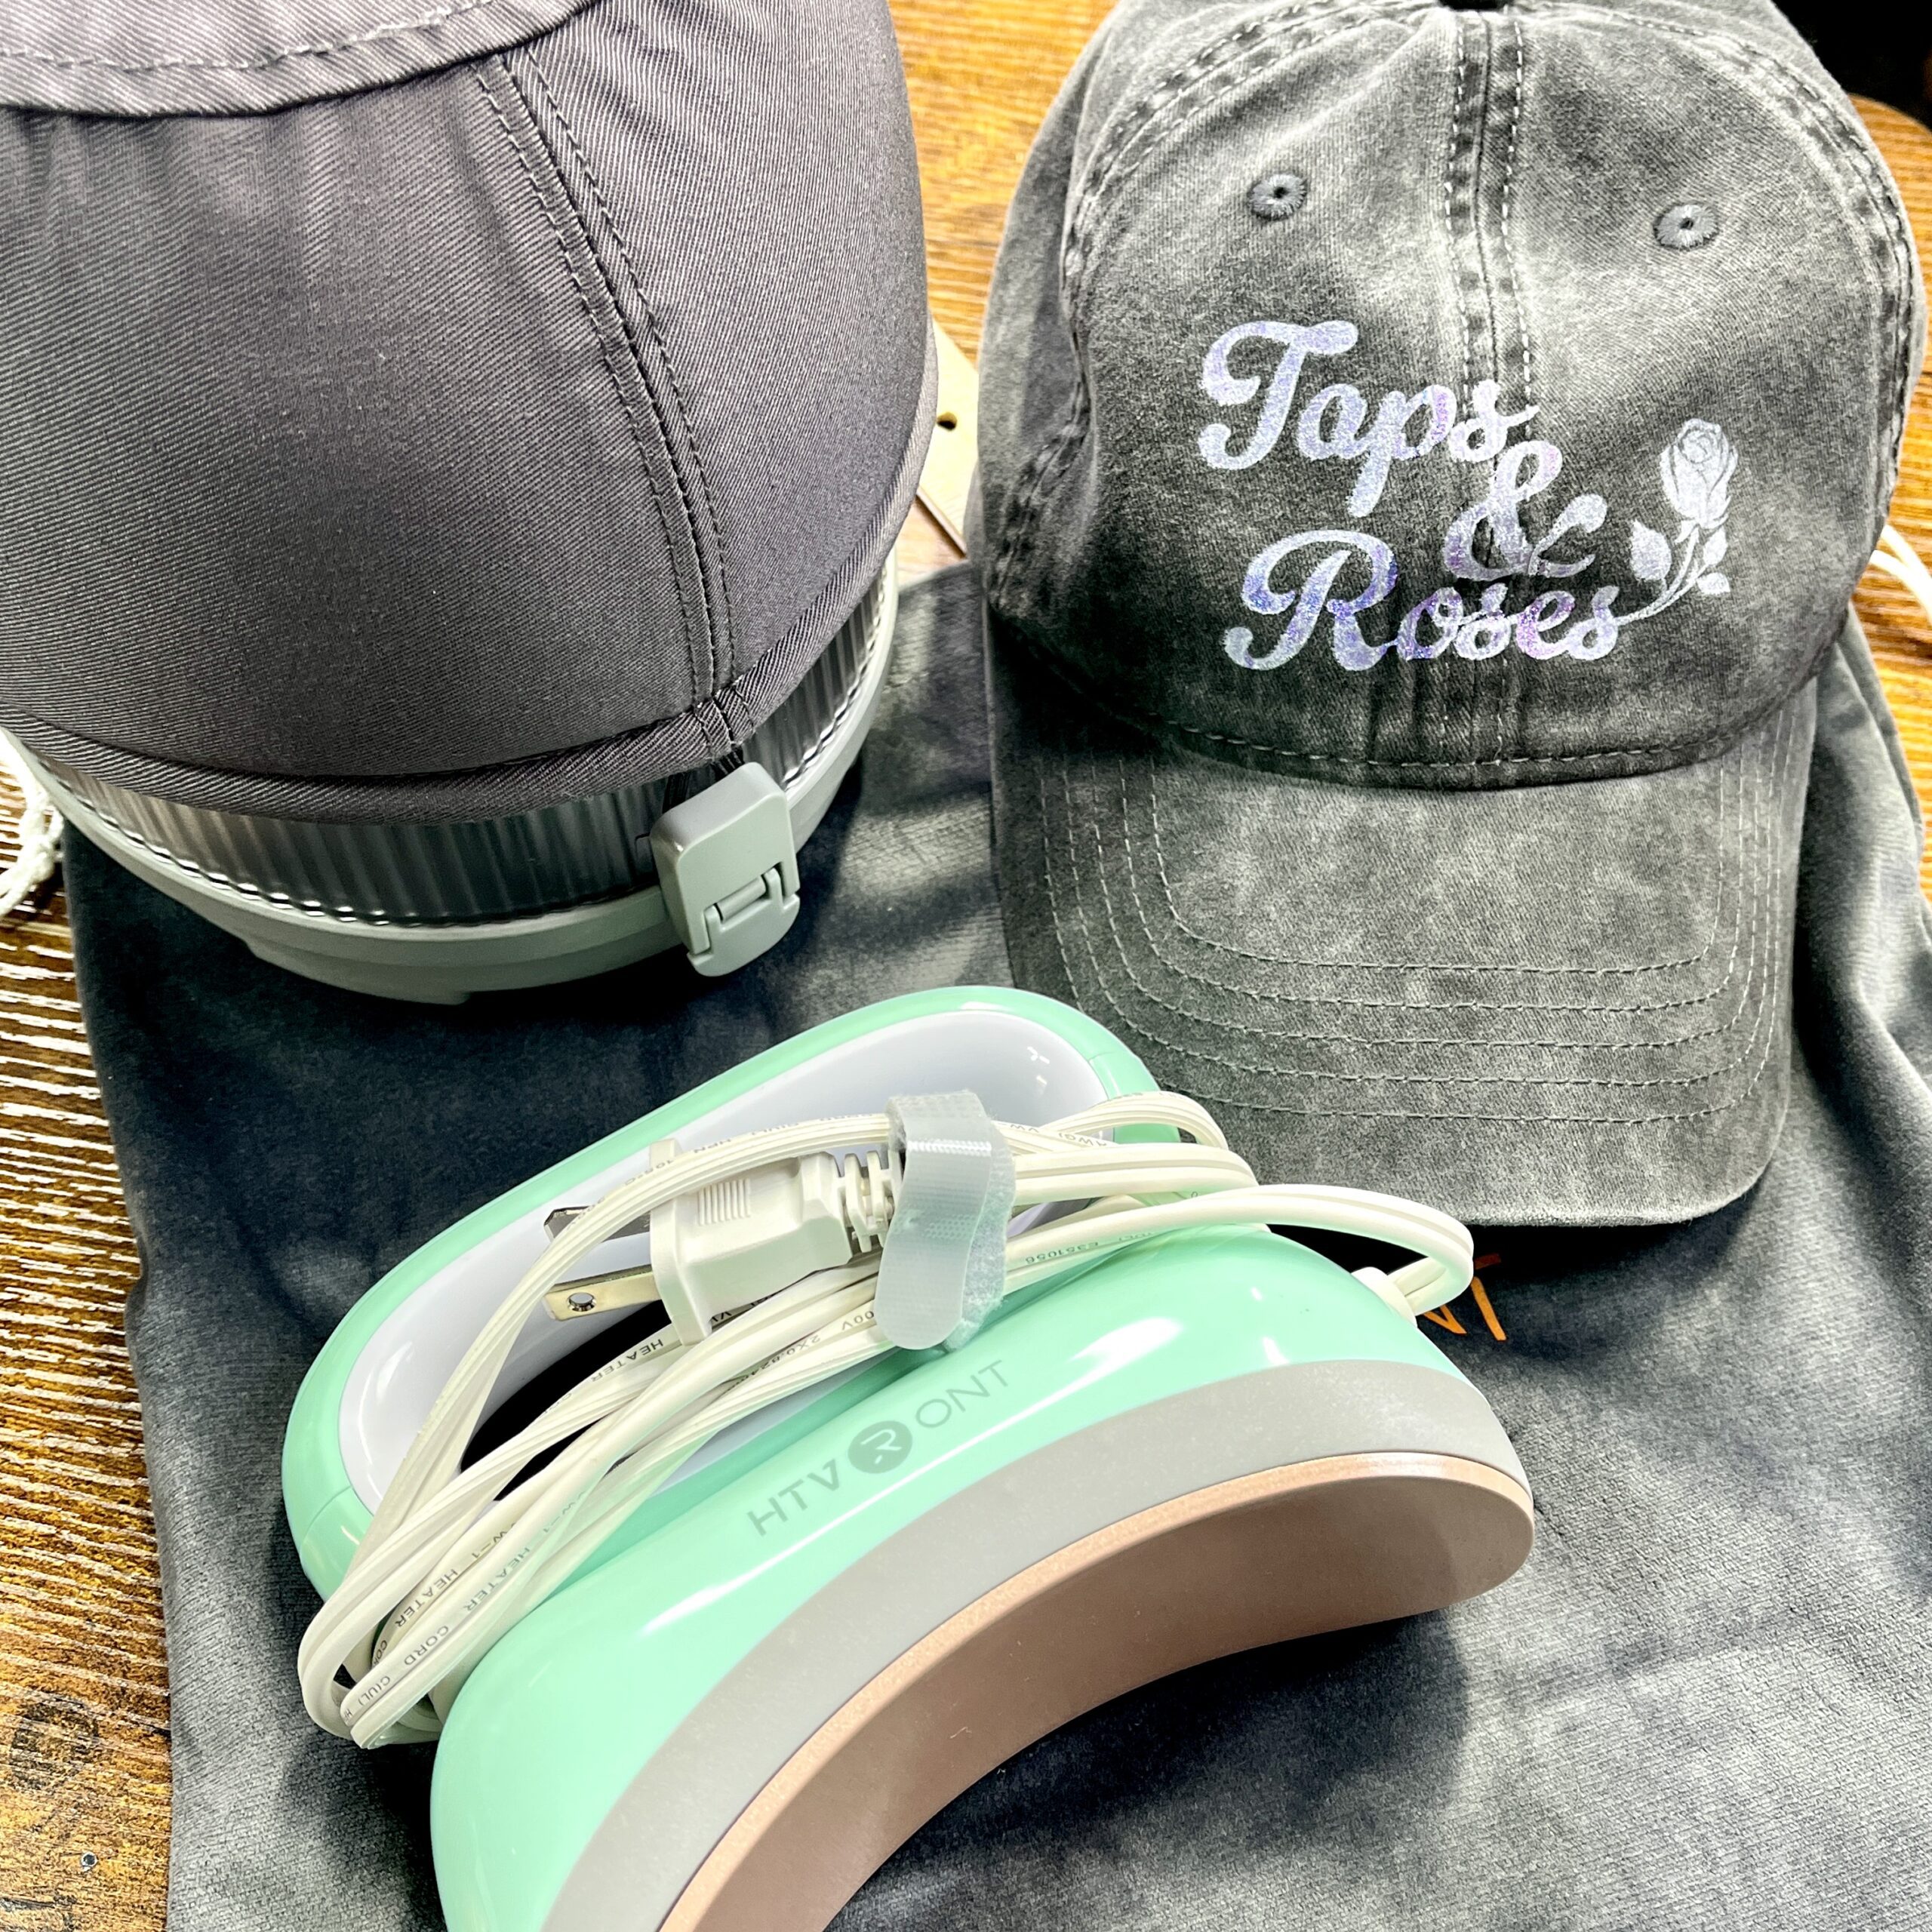
For this project, I wanted to make a fun “Taps and Roses” graphic to wear during my TikTok lives (btw, follow me!). I found a beautiful rose graphic on CreativeFabrica and paired it with a fun font from Adobe. You can find the rose I used here. Using my trusty Starcraft Solo vinyl cutter, I cut out the design from the HTVRONT chameleon heat transfer vinyl (HTV) bundle. After cutting, I weeded the vinyl with the HTVRONT toolset, which made the process a breeze.
Setting Up the HTVRONT Hat Heat Press
With my graphic ready, it was time to fire up the HTVRONT hat heat press. Here’s the process I followed:
1. Pre-Pressing the Hat: I set the heat press to 310°F and pre-pressed my hat on the included hat press mat for 15-20 seconds to remove any wrinkles and moisture. This step is crucial for ensuring a smooth application of the HTV.
2. Taping the Graphic: Next, I used heat-resistant tape to secure the weeded HTV graphic onto the hat. This ensures the graphic doesn’t move during pressing.
3. Pressing the Graphic: I pressed the transfer onto the hat for about 15 seconds with heavy pressure. After waiting for it to cool down, I slowly peeled off the clear transfer mask. The design looked great, but there was a slight issue.
Dealing with the Hat Seam
The hat I used, which I picked up from Walmart (you can find it here), has a seam in the middle of the front. This caused the HTV to not stick as well in that area. To fix this, I placed a piece of parchment paper over the transferred design and pressed it again. However, I made a rookie mistake—I didn’t time it. I ended up pressing it way too long, which removed the beautiful metallic finish from the HTV, leaving a vintage-looking design behind.

Lessons Learned
Even though the final result wasn’t what I initially envisioned, I still love the vintage look, and I’ll definitely wear the hat. Here are my key takeaways:
• Follow the Instructions: Always read and follow the instructions for your HTV to avoid overheating and ruining the finish.
• Pre-Press Properly: Pre-pressing helps remove moisture and wrinkles, which is essential for a smooth application.
• Use Heat-Resistant Tape: Securing your design with heat-resistant tape ensures it doesn’t move during pressing.
Final Thoughts
Overall, the HTVRONT hat heat press is a fantastic tool for creating customized hats. Despite my small hiccup, I’m thrilled with how my “Taps and Roses” hat turned out. If you’re into crafting and DIY projects, I highly recommend giving this heat press a try.
Thanks for joining me on this crafting adventure! Stay tuned for more projects and tips, and don’t forget to follow me on TikTok @ryancanmakeit for more fun content. And don’t miss all of my full length tutorials on YouTube (@ryancanmakeit)! Happy crafting!
I hope you enjoyed this blog post and found it helpful. If you have any questions or want to share your own crafting experiences, drop a comment below. Until next time, keep creating!
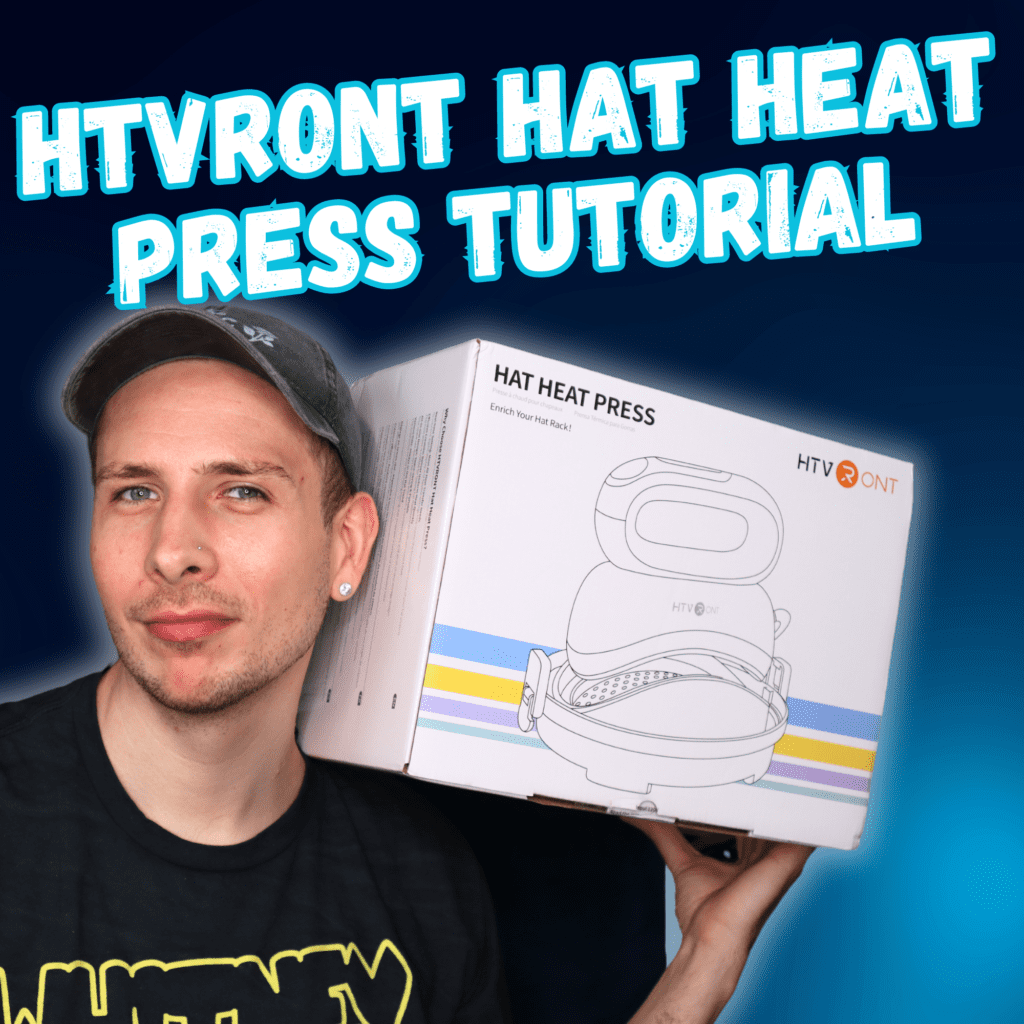
PS: Some people asked about how I create my YouTube thumbnails and Instagram stories, etc. I actually create my YouTube thumbnail first on Canva and then resize the thumbnail as a square, Pinterest Pin size and as an Instagram story size. Then, I can just adjust the elements to fit each size so that all of the social media posts look similar. I try to promote my new YouTube videos here on my blog, Pinterest, Instagram, X/Twitter, Facebook, Threads… everywhere! If you want a visual, check out my IG reel here where I did a quick video over how I do all of this in Canva.
Affiliate Disclosure: Ryan Can Make It is a participant in Amazon Affiliate and other affiliate programs. I earn a small commission from Amazon links and some other links posted on this website.


